Triggers
In Paygate, a trigger is used to execute a workflow.
Paygate offers a number of different type of trigger to suit most scenarios.
Types of Triggers
The are two different types of triggers that can be used for different scenarios.
Scheduler Trigger
The schedule trigger will be familiar to anyone that has used a tool such as outlook to book a meeting. A schedule is created using the Paygate UI and triggered when the schedule date/time is hit.
CRON Trigger
A cron trigger is a time based trigger. A cron trigger expression is used to defined when the trigger executes. Cron triggers are used in previous version of Paygate and will be very familiar to anyone with a Unix or Linux background.
Changes from Paygate version 2
If you are used to triggers in Paygate 2 then there are a number of differences in version 3 of Paygate:
Triggers are separate from workflows. In Paygate 3 you create a trigger separately from a workflow. This helps manage and maintain your triggers as they can be viewed all in one place. You can also clone a trigger and reuse them in different scenarios.
A single trigger can execute more than one workflow. In Paygate 3 you bind workflows to a trigger. When triggered all of the bound workflows are added to the execution queue at the same time.
Managing Triggers
Viewing Triggers
From the left hand menu, expand Automation and select Workflow > Triggers. This displays the workflow triggers page. The table shows all triggers for you customer account.
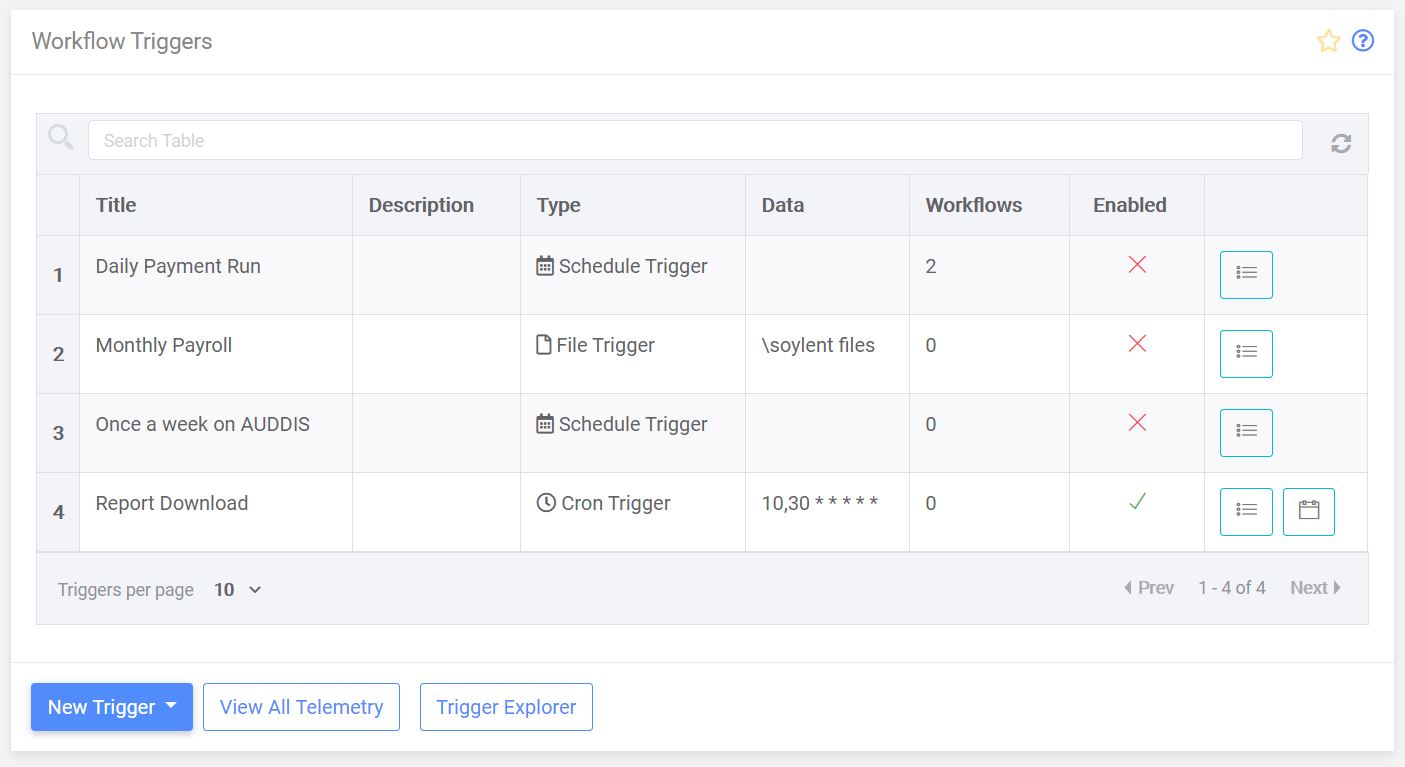
To view or edit an individual trigger click the relevant trigger entry in the table.
Enabled / Disabled triggers
Each trigger is either enabled or disabled. Disabled triggers are dormant in the system and never execute any bound workflows. The state of the trigger can be seen in the ‘Enabled’ column of the trigger table.
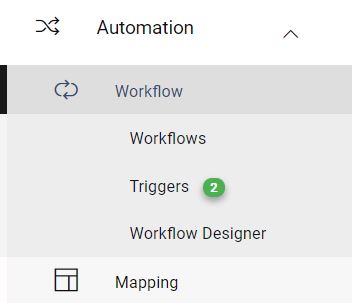
You can also see the number of currently enabled triggers in the left-hand menu, next to the ‘Triggers’ link. In the following example we can see that two triggers are currently enabled.
To enable or disable a trigger click on the relevant trigger in the table to edit the trigger. In the trigger edit page, each trigger has an enabled switch.
A disable trigger:

An enabled trigger:

Change the enabled setting and save the trigger by clicking update.
The effect of changing the state of a trigger is instant