Tutorial - Automated Reports Download
Overview
In this tutorial we will build, from scratch, a useful, real-world workflow that automatically downloads BACS reports and emails them to a group of finance staff.
The workflow will be set to run daily and, if used for real, can genuinely save time and ensure your staff receive BACS reports in a timely and predictable way.
Prerequisites
There are a few prerequisites for building this workflow:
1 - Workflow component is licensed
2 - A Valid HSM Certificate stored in the Paygate secure HSM
3 - A free active workflow slot.
Building the Trigger
Choose a trigger type
The first thing we want to do is build a trigger. We want our workflow to run once a day at the same time every weekday. BACS reports are not generated at weekends and so there is little point running the workflow at the weekends. We want our workflow to run a 4am each weekday morning. What we need is a time-based trigger - one that can cause the workflow to run at 4am each weekday.
Of the triggers that Paygate offers, two are time based: The Cron trigger and the Schedule Trigger. We could use either but for this tutorial we’re going to use the Schedule Trigger.
Construct the Schedule Trigger
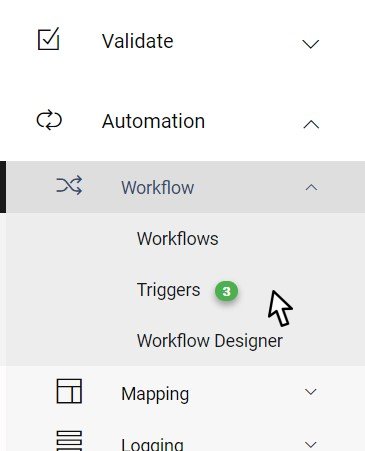
From within the Paygate client, expand the automation menu in the left-hand menu. Expand Workflow and click Triggers.
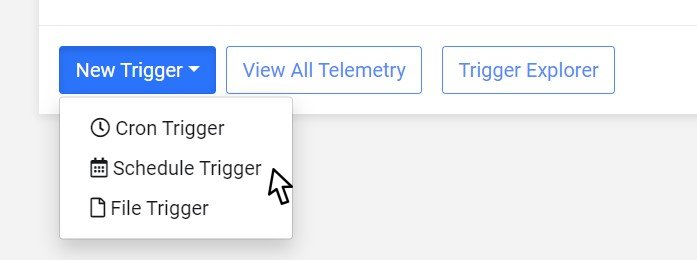
Click the ‘New Trigger’ button and select ‘Schedule Trigger’
You are now taken to the Schedule Trigger creation page.
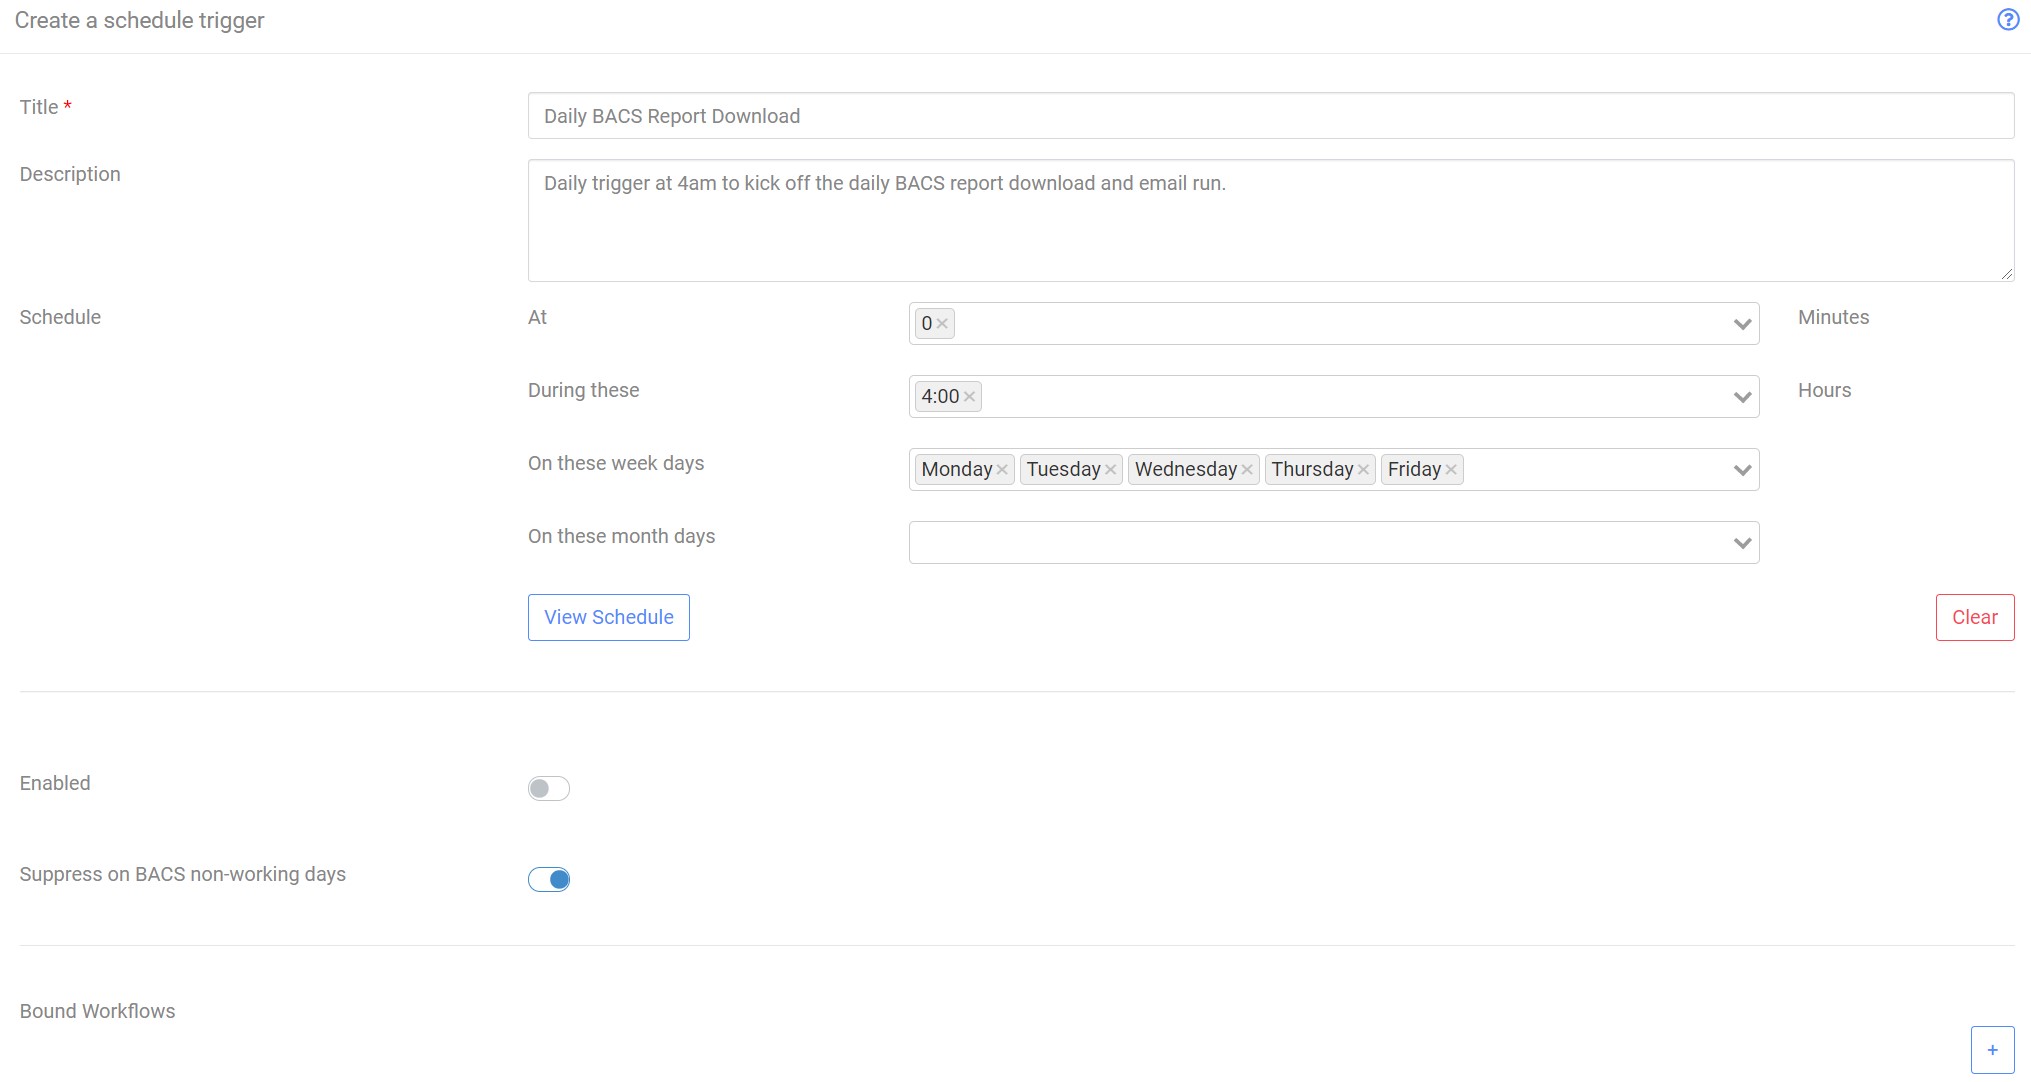
Give the new trigger a meaningful title. You might need to quickly find the trigger among a list of other triggers and so being able to find it or search for it using a title is very useful. Let’s call it ‘Daily BACS Report Download’.
Optionally you can give more details in the ‘Description’ box. This is useful if you want to quickly remember what the trigger does or for describing the purpose to other staff. I encourage you to spend a minute or two briefly describing the trigger main purpose. For Example:
“Daily trigger at 4am to kick off the daily BACS report download and email run.”
Next we need to tell Paygate when the trigger should run the workflow. It’s a little bit like setting up a recurring meeting:
A default schedule will be set up. We want to use our own schedule and so we’ll get rid of the defaults. Click the ‘Clear’ button to remove the default schedule. You’ll be prompted to confirm - go ahead and clear the schedule.
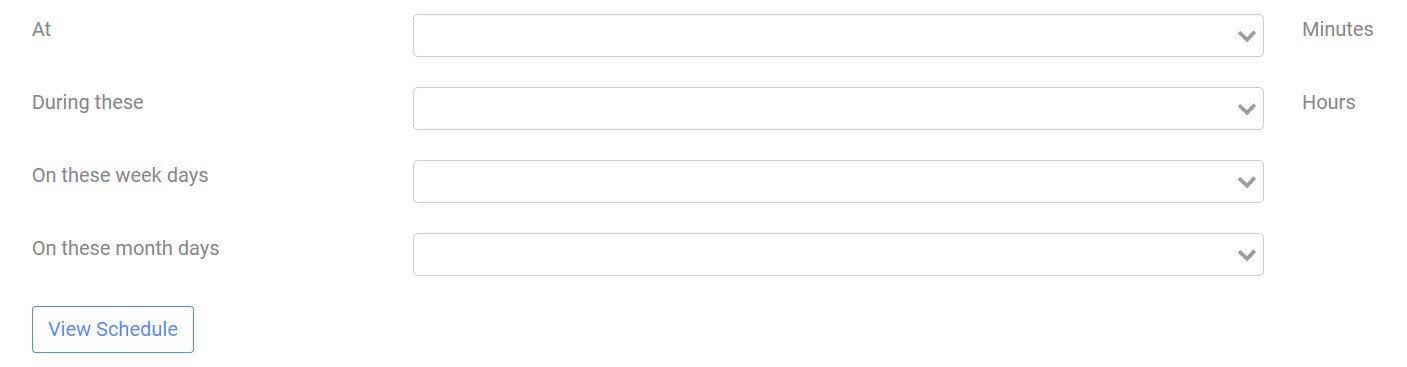
You want to create a schedule that triggers at 4pm each weekday.
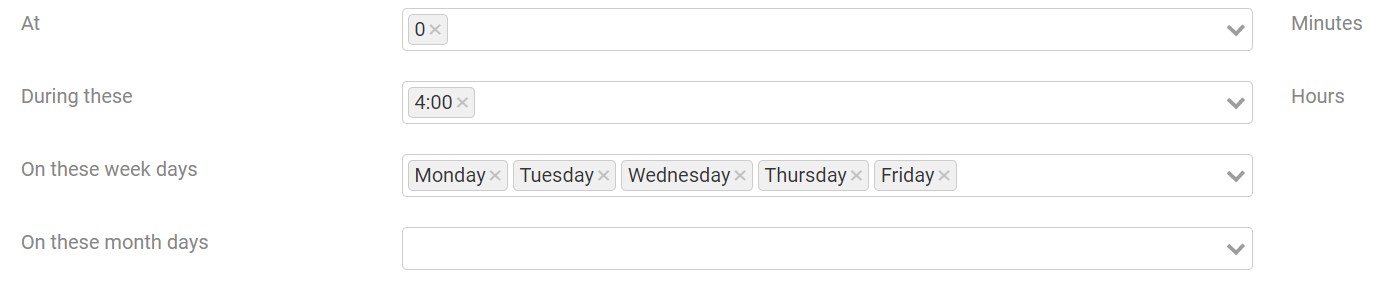
In the top box you need to enter the minutes for the trigger. 4am is zero minutes past 4am and so enter ‘0’ into the first box.
In the second box select 4:00.
In the third box you select the days that the trigger will occur. Select Monday, Tuesday, Wednesday, Thursday and Friday.
The final box is marked “On these month days” we could use this box to tell Paygate to limit the workflow to only certain month day. However we don;t want that. We want our workflow to run on any weekday of the month. So we’ll leave this box blank.
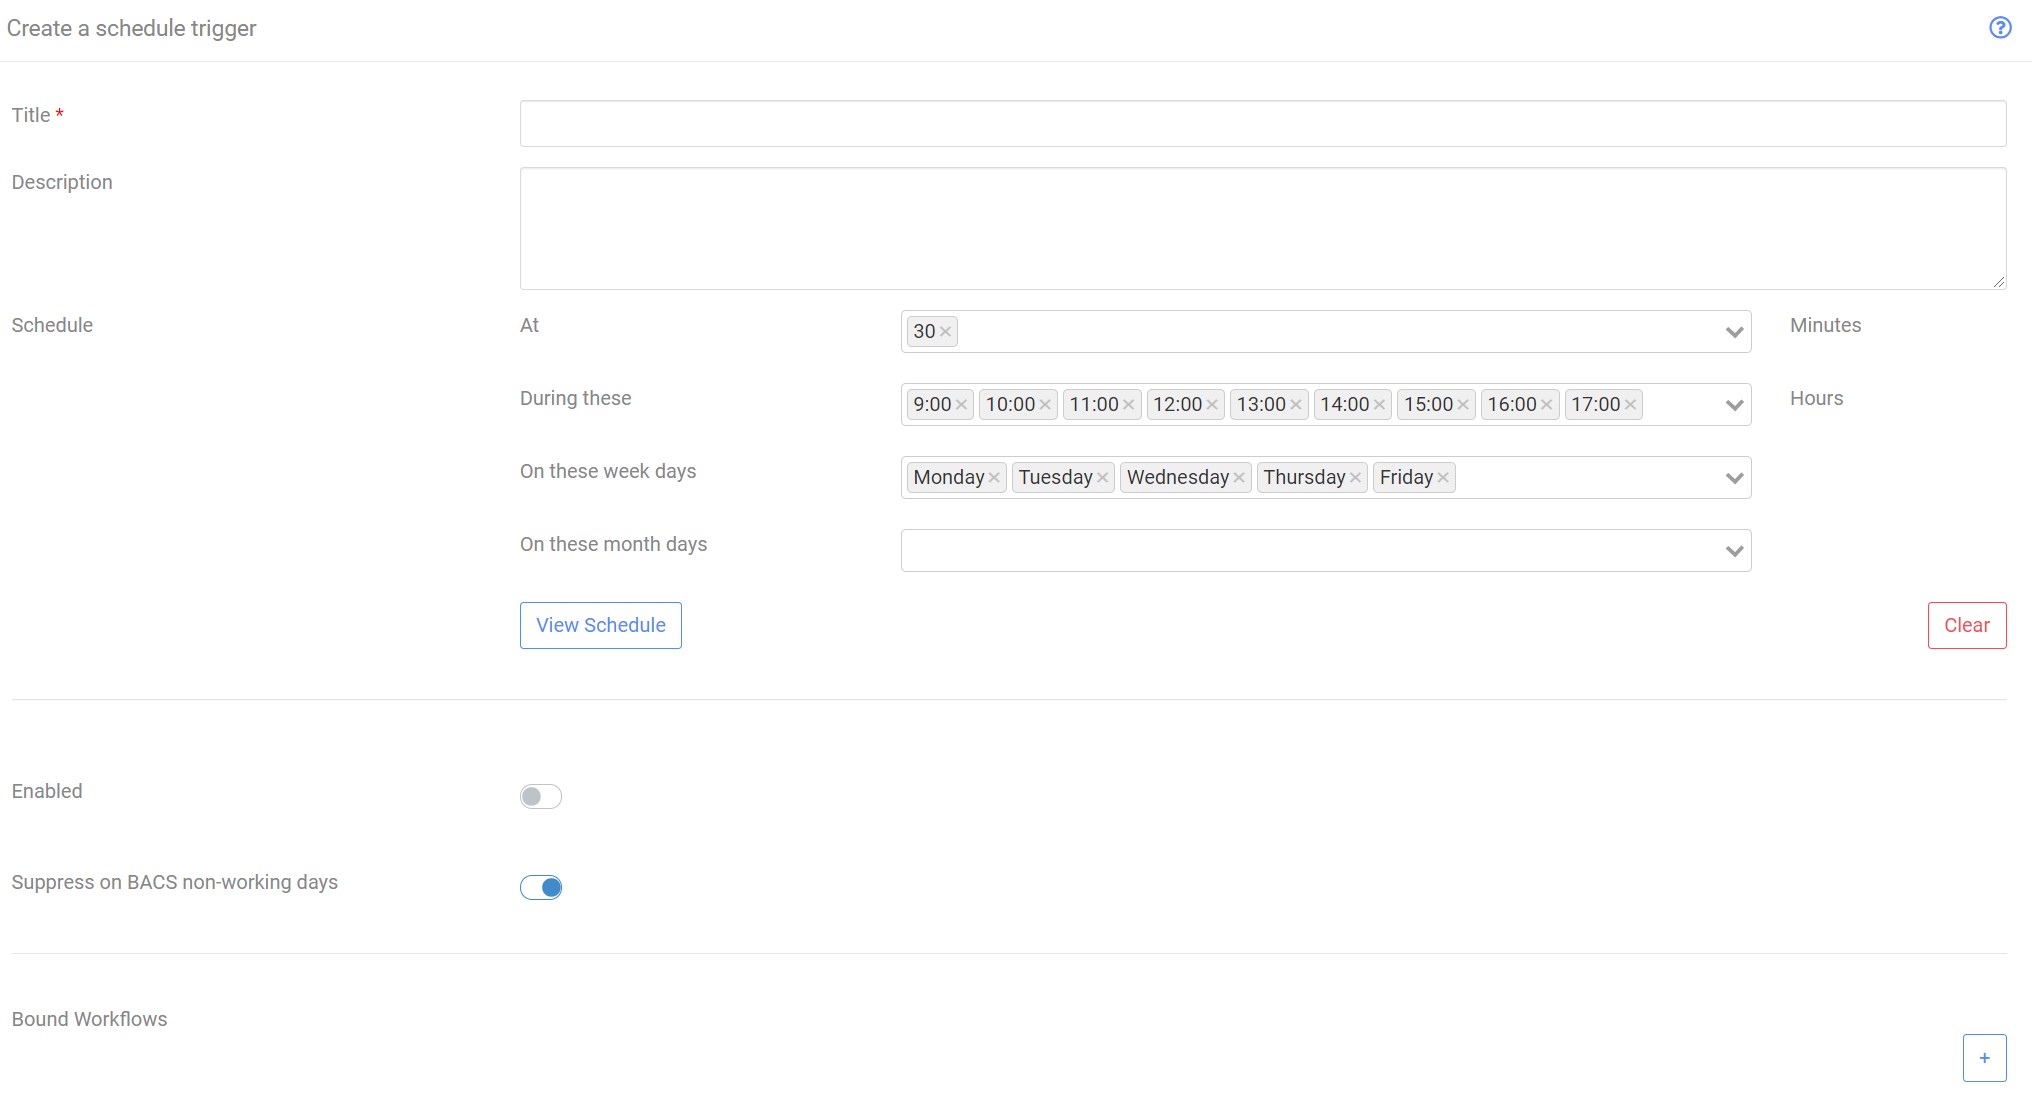
You settings should now look like this:
You can use the ‘View Schedule’ button to test when the workflow will run. your current trigger configuration will be used to build a schedule of dates and times and that will be displayed. Click it now and view the schedule. Is it triggering at 4am on weekdays? Good, we can now move on.
Next we come to an ‘Enabled’ button. We’ll come back to this after we’ve created our workflow.
The ‘Suppress on BACS non-working days’ button will prevent the trigger on none BACS processing days. Our workflow is not a BACS submission and so this is not so important for us. We are also not triggering our workflow on weekends. But this selector will also prevent the workflow from running on bank holidays and it’s good practice to use this setting. keep the default setting anf move on.
Finally we get to the ‘Bound Workflows’ section. This is where we will tell the trigger which workflows to run at 4am. We haven’t built our workflow yet and so we’ll leave this setting for the moment.
Here how my trigger configuration looks at this point.
Finally, click ‘Create’ to create the new Trigger and store it in Paygate.
Viewing the new trigger
After saving the trigger you will be taken to the ‘Workflow triggers’ page. You can get back to this page at any time by using the menu: Automation > Workflow > Triggers.
This page display all of you triggers and give basic details such as the type of trigger, how many workflows are bound to it (if any) and whether it is enabled or not. At the moment our trigger is disabled and so shows a red cross in the ‘Enabled’ column.

You can edit this (or any) trigger by clicking on the entry in the table. This will take you back to the editor page. Don;t forget to save the trigger if you make changes.
Create the Workflow
OK, that’s enough about triggers. let’s start work on the actual workflow that will connect to the BACS service and download reports and email them to your staff.
In Paygate, workflows are created in the Workflow Designer. A workflow in Paygate is a little bit like a flow chart. They are built up using separate blocks and linked together with connectors.
Open the Workflow Designer.
From the menu, expand Automation > Workflow > Workflow Designer.
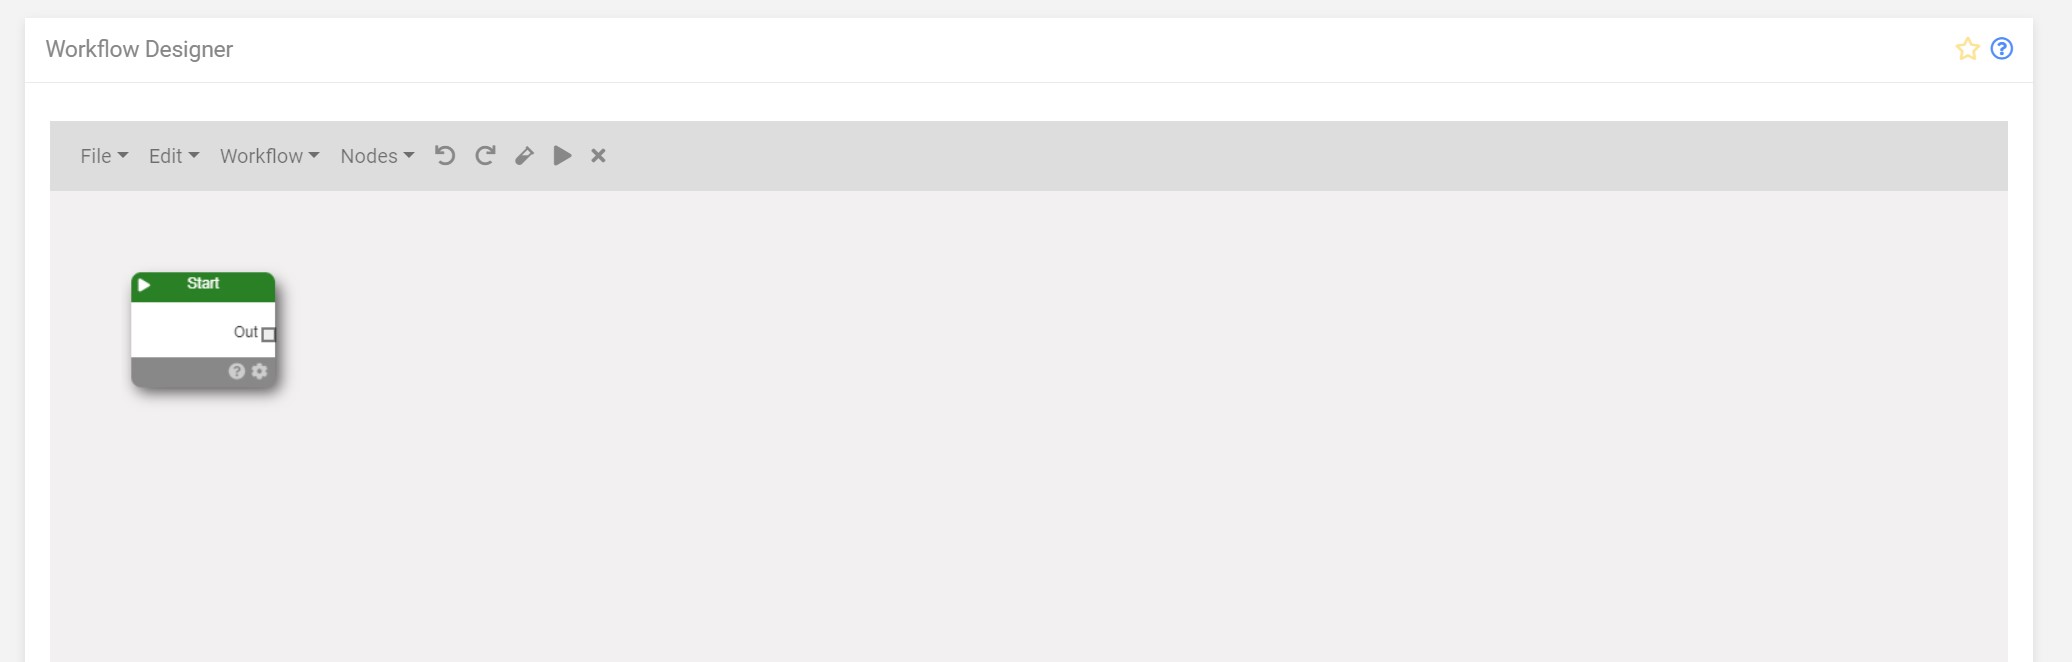
This open the Workflow Designer page with a default workflow. A default work is blank except for a Start Node. The start node is the entry point for all workflow. Every workflow must have exactly one Start Node otherwise it will not run. When Paygate attempt to run a workflow it scans the workflow diagram and looks for the star node. It then starts the workflow running from that node.
We need to set a few setting for the workflow. We need to set which user account will be used when running the workflow and we also need to set which group the workflow will be operating in. We set these in the start node. Like all workflow node, you configure the node by clicking the little cog icon in the bottom right of the node.
With the Start Node configuration panel open, choose a group from the ‘Group’ selector. Now select a Service User from the ‘Service Account’ selector. If you do not have any available service accounts, see this section Service Accounts
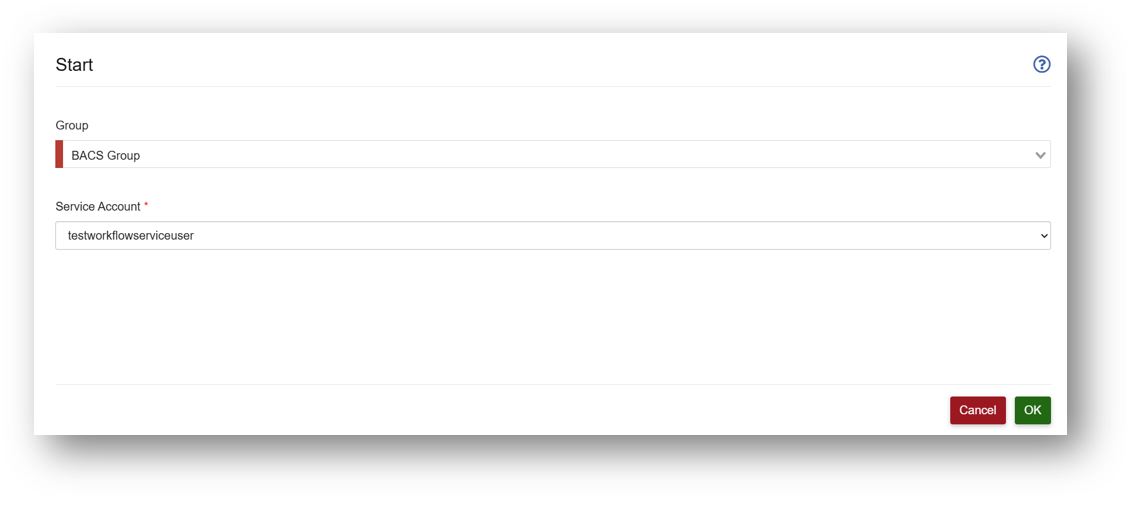
Close the panel by hitting ‘OK’.
Now we start to think what the purpose of the workflow is. The initial purpose of the workflow is to connect to BACS and download reports. We need a way of telling the workflow to carry out the report download action - but how do we do that?
Well, because downloading BACS reports is a very common activity in Paygate, we’ve create a building block that knows how to connect to BACS and download reports. We call these building blocks nodes. The node we want is found in the Nodes menu in the Workflow Designer. Click Nodes > Bacs Automation. Select Report Download from the selection of nodes and click ‘Select’. The BACS report download node is added to the workflow diagram. Move it out of the way of the existing start node buy clicking and dragging the node header.
We will want to tell the Bacs Report download node which reports we want to download and what to do with them.
Open the BACS reports node by clicking the cog button.
Choose a selection of reports from the report Type section.
Keep the report format as HTML.
Choose a location where the reports will be downloaded to. You can use the browser (… button) if required.
Keep Report Age as Last Month and tick Download previously accessed reports.
Click ‘OK’ to save the settings and return to the Workflow Designer.
Your basic workflow is now complete. You can test the workflow by clicking the ‘Execute the Workflow’ (Play) button in the toolbar. But do bare in mind - this is not a sandbox and really will connect to BACS.